Spring Puffy Paint Recipe Activity For Preschoolers – And 5 Free Coloring Pages!
Spring is the perfect time for colorful, hands-on fun, and this puffy paint recipe is an amazing way to add texture and creativity to your preschooler’s art! My boys (ages 3.5 and 6) had an absolute blast making and using puffy paint, and we paired it with our free spring-themed coloring sheets for the ultimate creative activity.
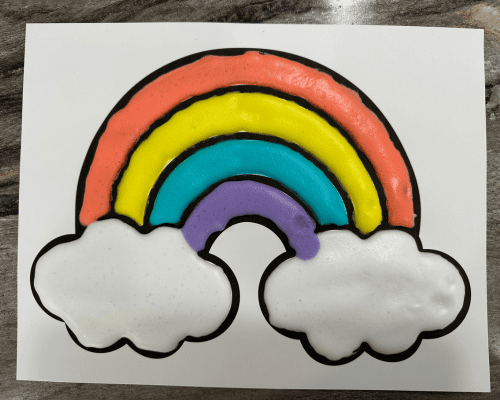
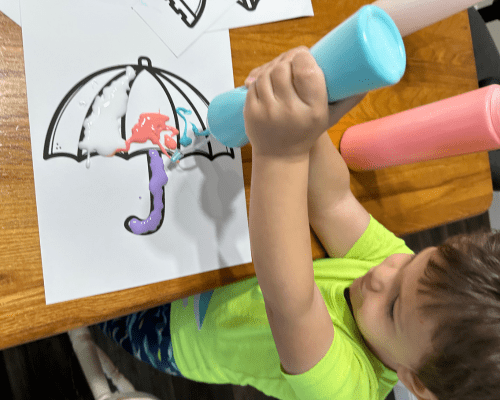
These coloring sheets feature a rainbow, flower, umbrella, rainboot, and a sunshine—all with large, simple designs that are perfect for puffy painting! Whether you use them as puffy paint templates or classic coloring sheets, they’re a must-have for spring fun. Grab your freebie today and get started!
Easy Puffy Paint Recipe
Making puffy paint at home is super easy and requires just a few simple ingredients you likely already have!
You’ll Need:
- 1/4 cup shaving cream
- 1/4 cup white or clear glue (I used clear glue because I had a big tub on hand from making slime, but white glue works the same!)
- Food coloring (optional)
- Popsicle Sticks for mixing (optional)
- Squirt Bottles (optional)
How to Make Puffy Paint:
- In a bowl, mix the shaving cream and glue until well combined.
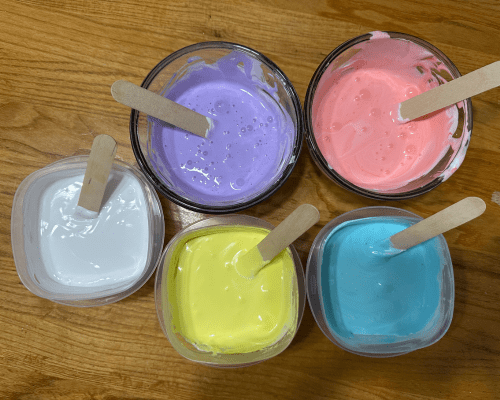
- Divide the mixture into separate bowls if you want multiple colors.
- Add food coloring or washable paint to each bowl and stir well.
- Transfer the puffy paint to plastic squeeze bottles for easy application, or simply use paintbrushes.
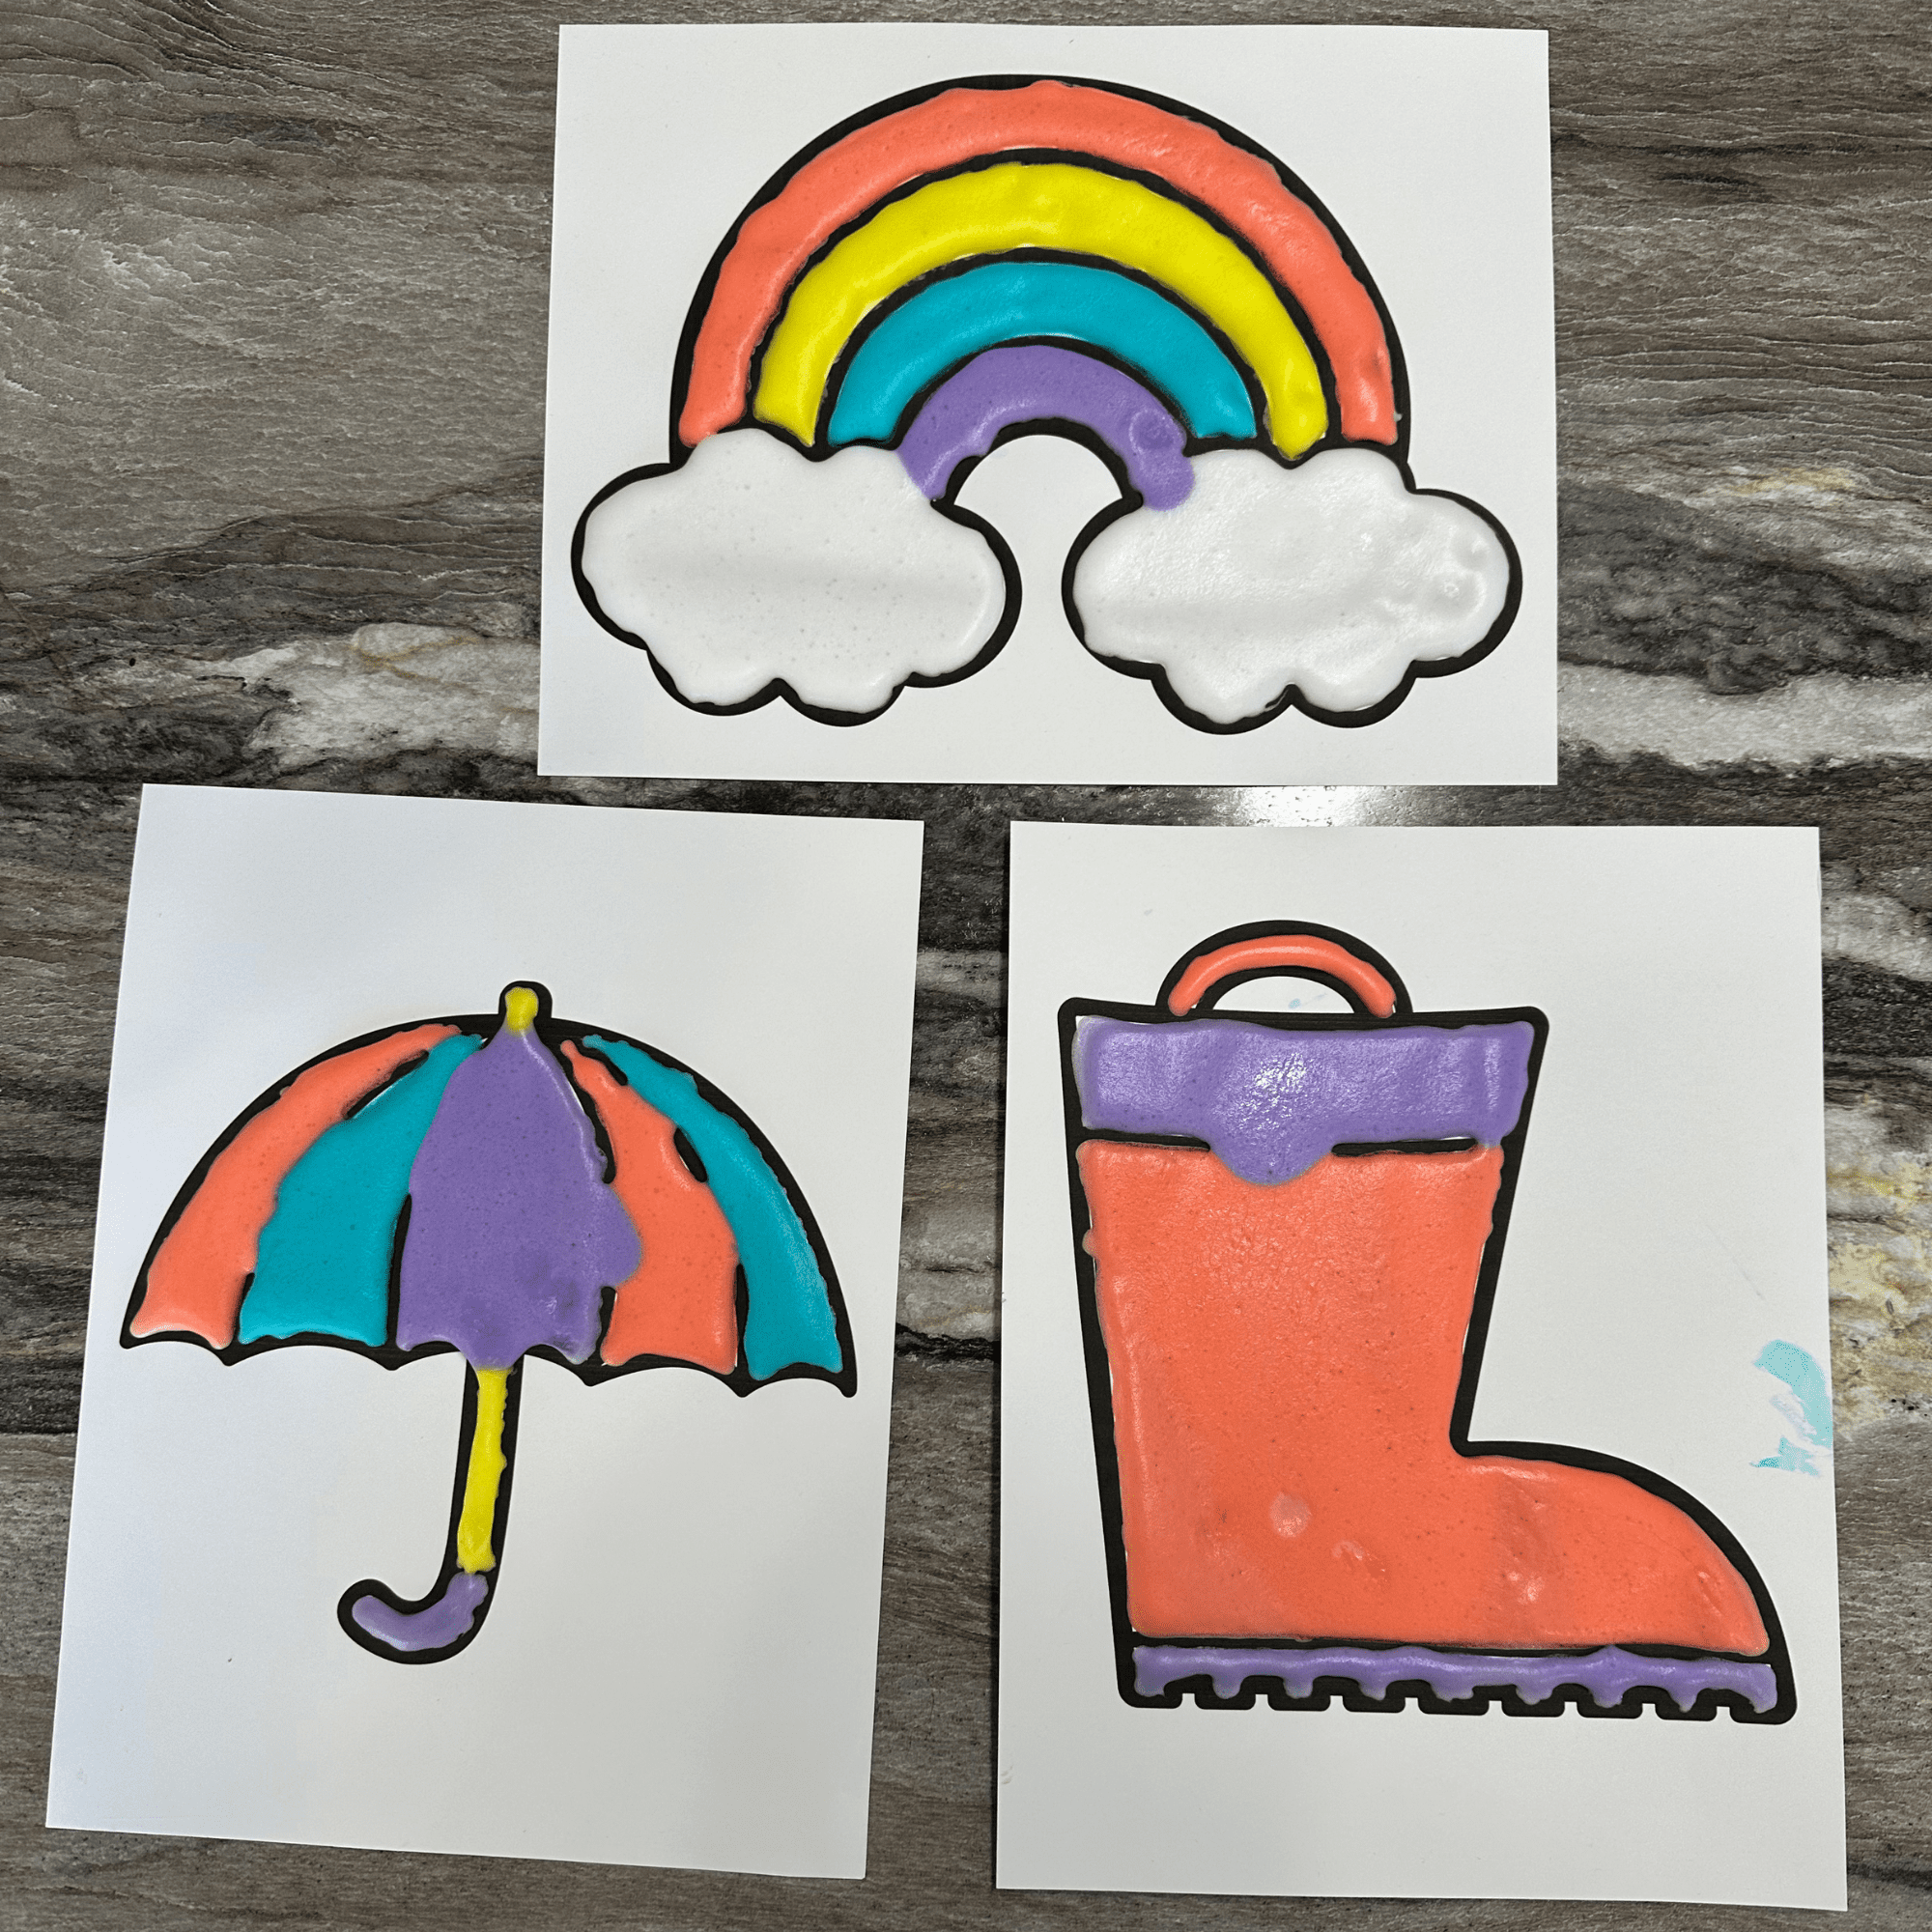
This puffy paint recipe creates a thick, foamy texture that dries soft and slightly raised, making it perfect for sensory art projects!
Our Puffy Paint Experience
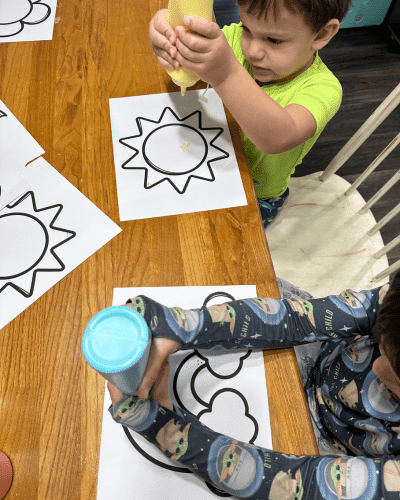
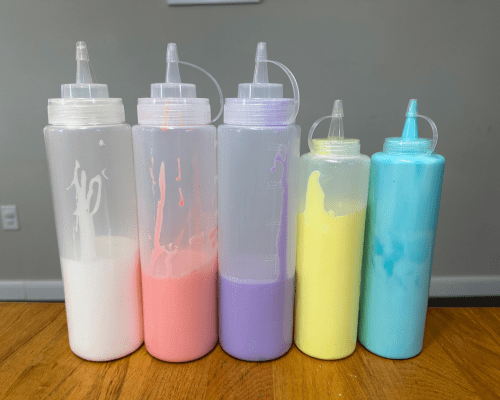
I made pink, purple, yellow, and teal, and left one white for the clouds on the rainbow picture. We doubled the puffy paint recipe and still had plenty of paint left over after decorating about eight pictures together so not doubling probably would have been enought for us!
Both of my boys had so much fun squeezing and spreading the paint, watching it puff up and dry into a soft, squishy texture. If your little ones love sensory play and creative projects, this is a must-try!
Squeeze Bottles – Use What You Have!
We used both large and small squeeze bottles—just what I had on hand. Both worked fine, so definitely use whatever you have! If you don’t already have any and want to buy some, I recommend the large ones. The larger opening made them much easier to pour into, and the paint came out more easily, which my boys preferred.
I also love keeping these bottles on hand for summer sidewalk painting, so they’re a great investment if you enjoy doing crafts with your little ones!
A Fun, Easy Craft for Any Season!
This puffy paint recipe is easily customizable for any theme or season—just mix in different colors! Think red and green for Christmas, orange for fall pumpkins, or blue and white for winter snow scenes.
🎨 Want more fun sensory art? If you loved this, be sure to check out our Easy Edible Finger Paint Recipe for Babies, Toddlers, and Preschoolers!
Grab Your Free Spring Coloring Sheets!
These adorable spring-themed pages are perfect for puffy paint or just a classic coloring session. Download them now and let your little ones explore colors, textures, and creativity in a whole new way! 🎨🌷☀️
👉 Click here to grab your FREE spring coloring sheets!
This puffy paint recipe is a must-try for an easy, fun, and (mostly) mess-free art project your little ones will love. Have fun creating, and let me know how your kids enjoyed their puffy paint experience!
Happy Painting! 🎨
Trisha with Playful Little Thinkers
Make sure to join the FREE Facebook Group and share pictures of your kiddos enjoying their puffy painting! I’d love to see them!
